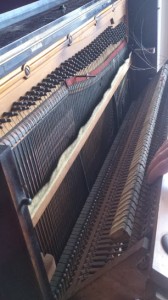
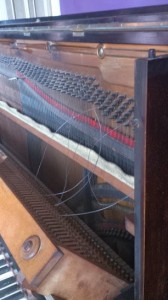
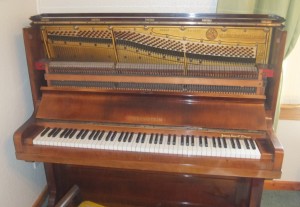
Piano bass strings rarely have to be replaced – the occasional broken one should be tied – better looking and matching than a new one.
If your strings are dead and tubby or they rattle it’s an easy fix. To determine whether your strings are dead, step on the damper pedal and pluck some strings just below the upper nut. They should twang, not thudd. If they thudd it’s because of corrosion built up between the winding and the core, and because they need whipping and twisting. My method, learned at Tallman’s Piano and Organ in Salem ORE in the 1970s (I worked there for a minute after Steinway NYC), takes an hour or two and results in 80-90% new-sounding strings. You’ll need a tuner to do the fine-tuning afterwards, so plan this for when you want a tuning anyway.
Note: More than one broken string, consider a set made and installed by Alistair Edmondson, great string maker of Edinburgh.

Whoops Tallmans seems to have been demolished since I was there.
Get a pillow. There’s lots of kneeling and standing. You also need a cheap tuning hammer and a medium screwdriver and a medium hammer. And some medium sandpaper for cleaning, along with a dust mask to keep that toxic copper oxide out of you.
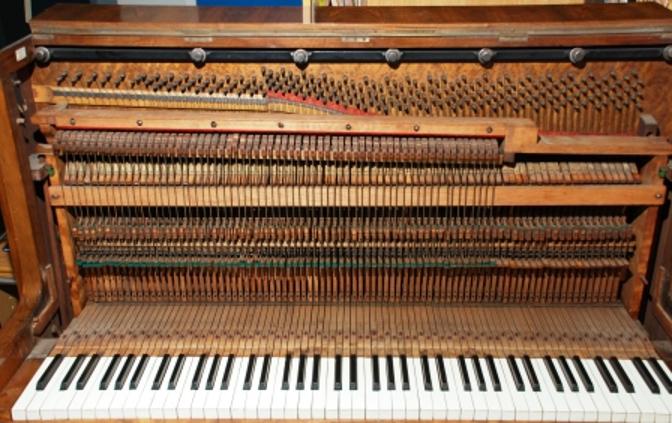
Remove the action. You should replace all the bridle tapes if more than one is broken. Not a very technical job. I can explain that later.
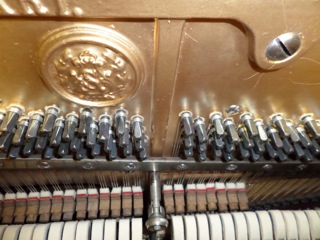
Loosen every other bass string. Carefully. Like this: grab the string at its middle pulling towards you while relaxing the tension at the tuning pin. You must do this, pulling hard enough to make the coil uncoil (but not hard enough to break anything), otherwise the coil will get kinked and will break when you restore the tension. Loosen each pin 3/4-turn. Then kneel down on the pillow and pull each one hard, towards the bottom of the string. Then you should be able to remove each one at the hitchpin.
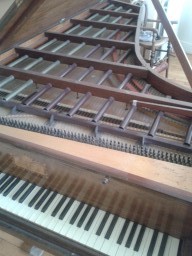
Grab them all (put on ye dust mask now especially if the strings are copper-wound – or your next cigarette will taste funny). Don’t worry about the order. But be sure to hold all the ends together. Scrunch them up past the keyboard and hang them over the keys. Use a towel if you’re afraid of scratching ye ivories.
Take a handful starting with the skinny ones, maybe 10-12 strings. Make a large loop, always holding tight to the hitchpin end of the strings, and pass the end inside the loop. This is hard to explain pending the video, but easy to do; the only thing to always remember is not to make the loop too small. You must not kill the strings by kinking. Run the loop up and down a few times to loosen the corrosion built up inside the string windings over the years. Unloop the loop, holding the hitchpin ends firmly.
Take the top string, pull it towards you (always noting the position of the coil at the tuning pin to make sure you aren’t bending anything) and with a piece of sandpaper CAREFULLY (in the case of the top few skinny ones where it’s easy to wreck the string by unravelling some of the winding; the bigger strings are not fragile) clean the tops of the strings. Don’t clean the whole thing, just the part that’s visible above the dampers. This is strictly cosmetic, and be sure to have your mask on.
Look at the top of the winding and note which way it’s wound, usually clockwise but in the case of Japanese pianos counterclockwise.
Pass the string down past the keybed and go down on your knees and meet it. Look again at the winding, and give the string a full twist in the same direction as the winding (later when you do the fattest strings half a twist will do). Pop the string back on its hitchpin (you can hold the twist in place with needle-nose pliers on the bottom coil) and bridge it (thread onto the bridge pins). Repeat until all the strings are on and ready to retune to the alternating strings you left tight. Best to replace one at a time so you don’t confuse the order of strings.
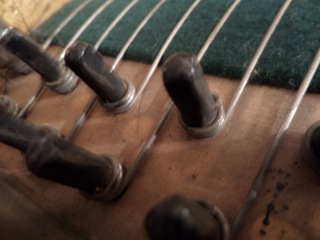
Pop the strings back onto the top nut. Take the tuning hammer and put a bit of tension back on each string while lifting the coil with the screwdriver to make sure it’s tight. Do not mess up your coils. Do not scratch the metal plate. Pluck the string and tune to its mate in the case of the doubles section. If the string is worse than before you started, you’ve twisted in the wrong direction, so loosen and twist the other way now. In the singles section, it’s safest to tune the note to the one below THEN up the remaining 1/2-tone to pitch.
Go back down on your knees. Tap each string back down on its hitchpin with the screwdriver whacked with the hammer. Give each bottom coil a whack towards the hitchpin (Zsofi where is your video?). With your palm against the screwdriver, punch each string back onto its bridgepins. Not too hard, you don’t want to dent the bridge. With your thumbs push each rejuvenated string violently to the side at the middle to take up more slack. Stand up. Squeeze your tits (with a needle-nose, force the flags – the place where the coil enters the tuning pin – back into the holes). Then give each tuning pin coil a whack downwards with the hammer against the screwdriver. Tune again. Repeat for the alternating strings. You will be stoked at the improvement. You can do the same with wound guitar strings by the way. I’ll explain later. -blt
